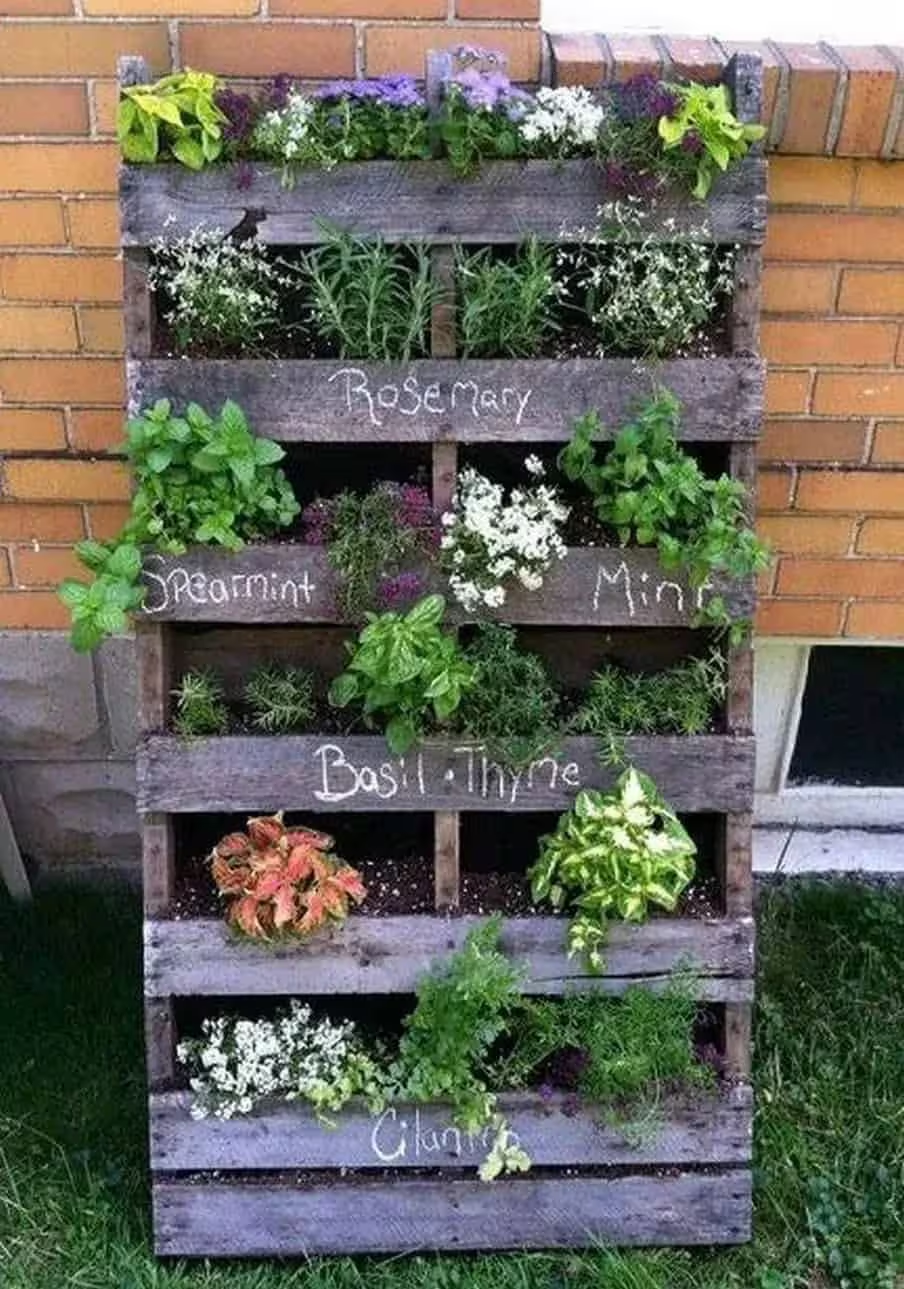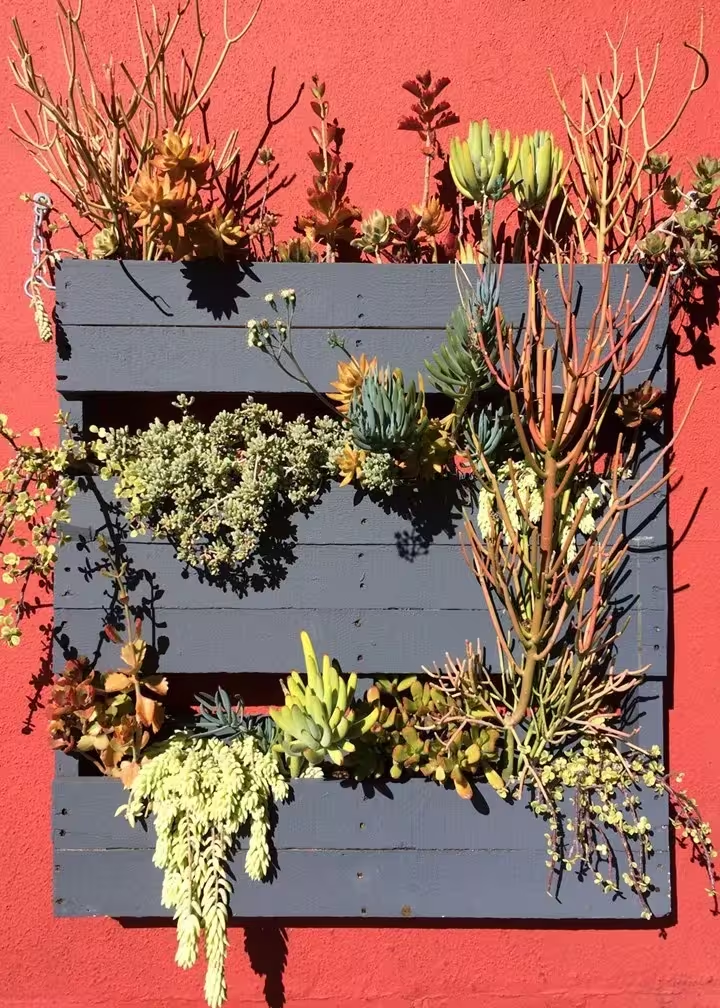
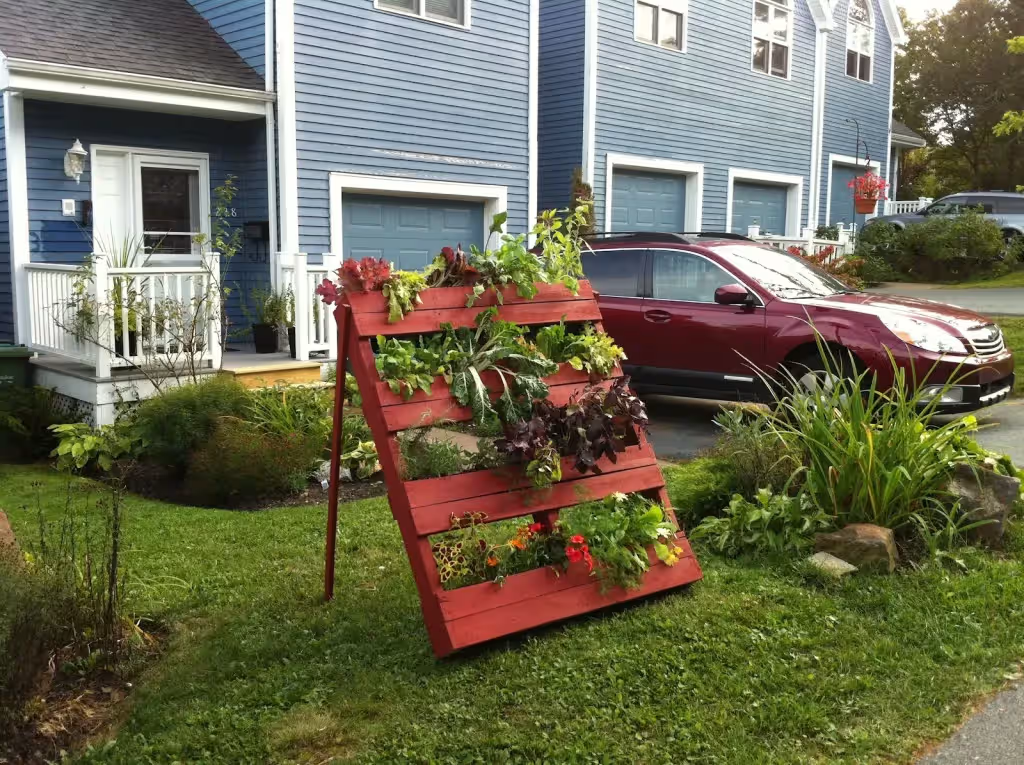
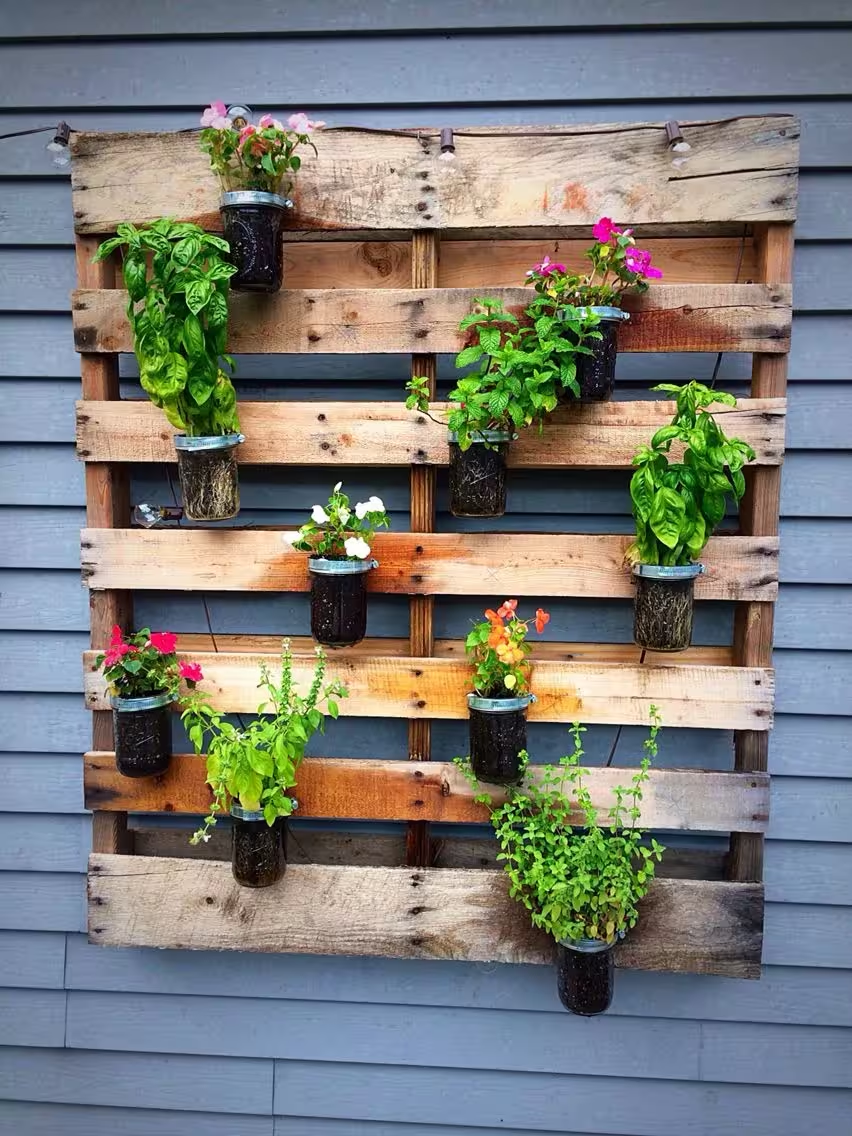
A DIY vertical pallet planter is one of the smartest and prettiest ways to add greenery when you don’t have much space. You can use it outdoors to decorate your front yard, balcony, or patio, or bring it inside to create a beautiful indoor pallet herb garden. Best of all, it’s cheap, eco-friendly, and super easy to build!
Old wooden pallets are perfect for this project because they already have the right shape for a vertical garden. With just a few simple steps, you can turn a free or low-cost pallet into a stunning vertical planter for flowers, succulents, or fresh herbs.
Materials You Need for Your Vertical Pallet Planter
- One wooden pallet (look for heat-treated “HT” pallets – avoid ones marked “MB” because they have chemicals)
- Hammer and nails
- Nail puller or crowbar
- Waterproof landscape fabric (or thick plastic) + staple gun
- Optional: wooden sheet or extra slats
- Exterior paint or wood stain (optional but recommended)
- Good quality potting soil
- Your favorite plants or herbs
Build Your DIY Vertical Pallet Planter
Find and Prepare the Pallet
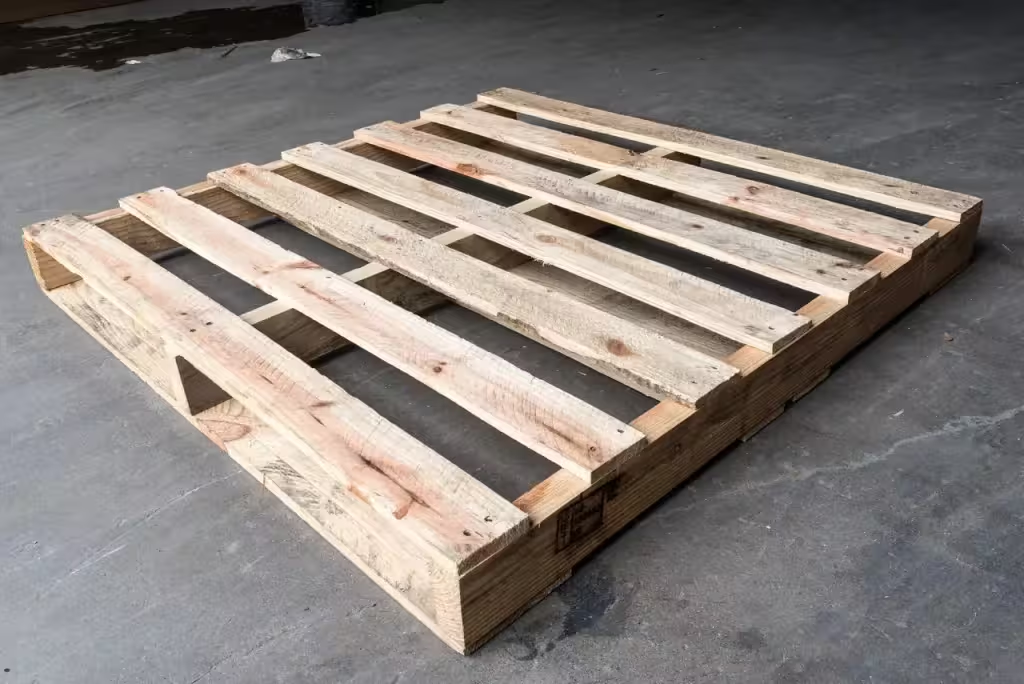
Look for a pallet in good condition – not cracked or too rough. Many stores give them away for free. Clean it with a brush and water if needed.
Decide the Direction
Stand the pallet up the way you want it to hang. Most people use the side with wider gaps as the front (this becomes the planting pockets). If your pallet has slats that are too close or too far apart, use the nail puller and hammer to remove some slats and rearrange them so you have nice, even rows for planting.
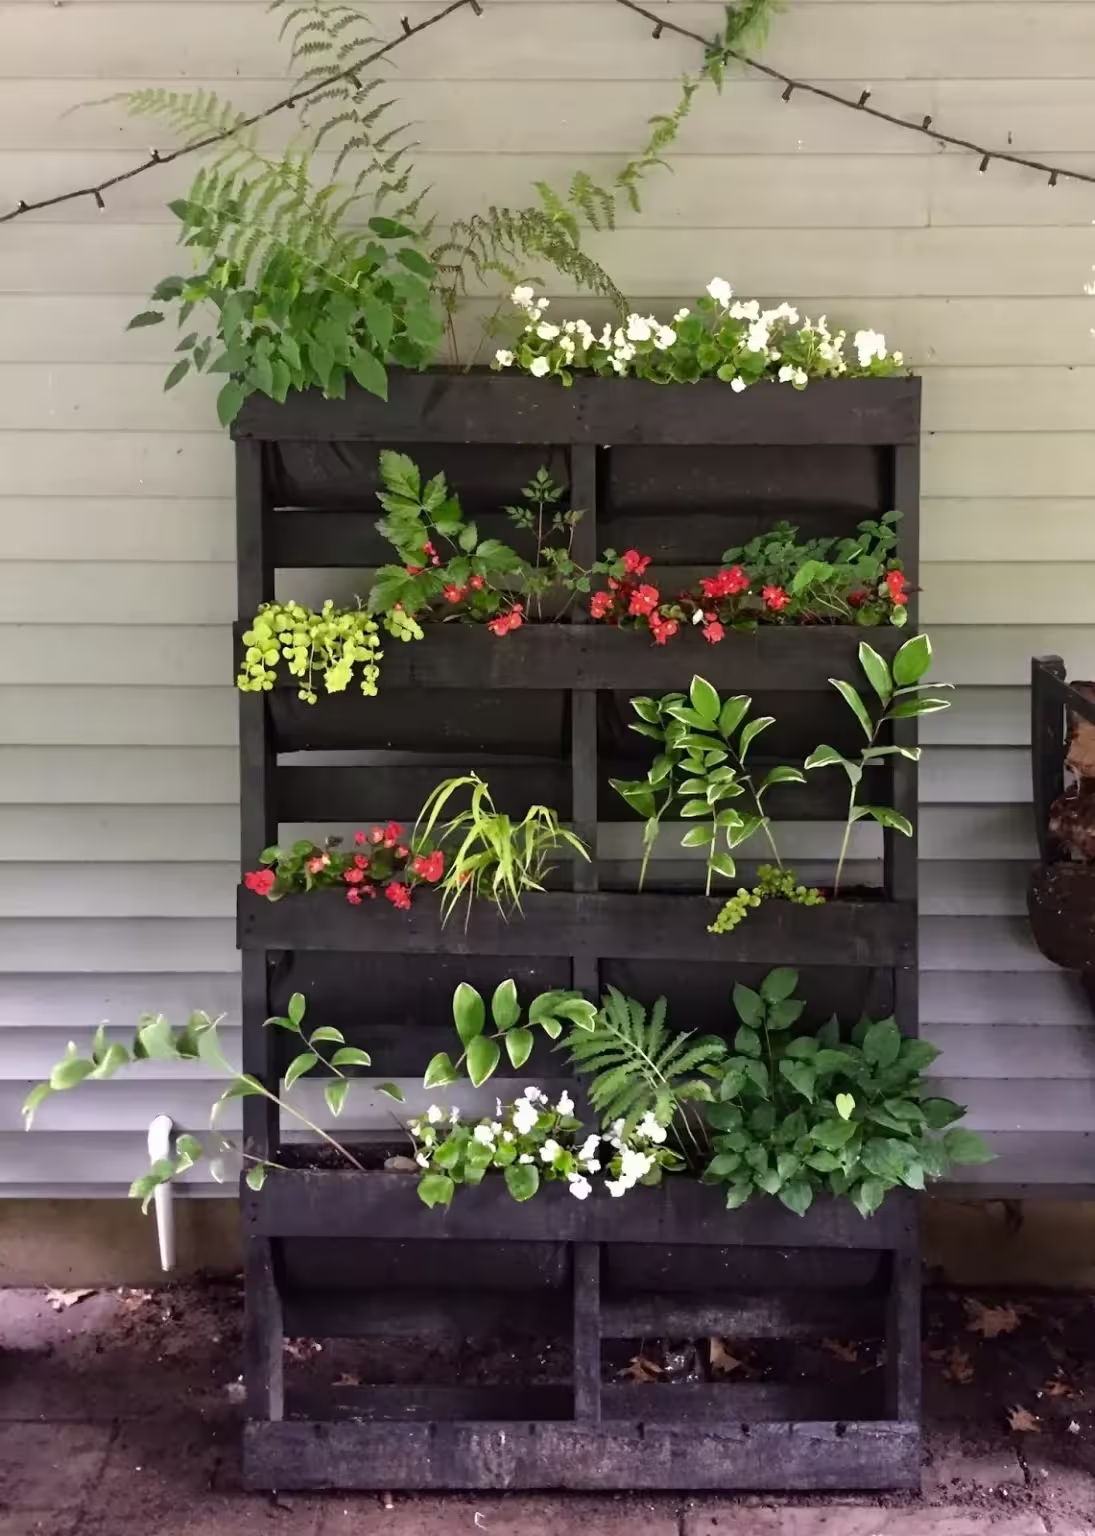
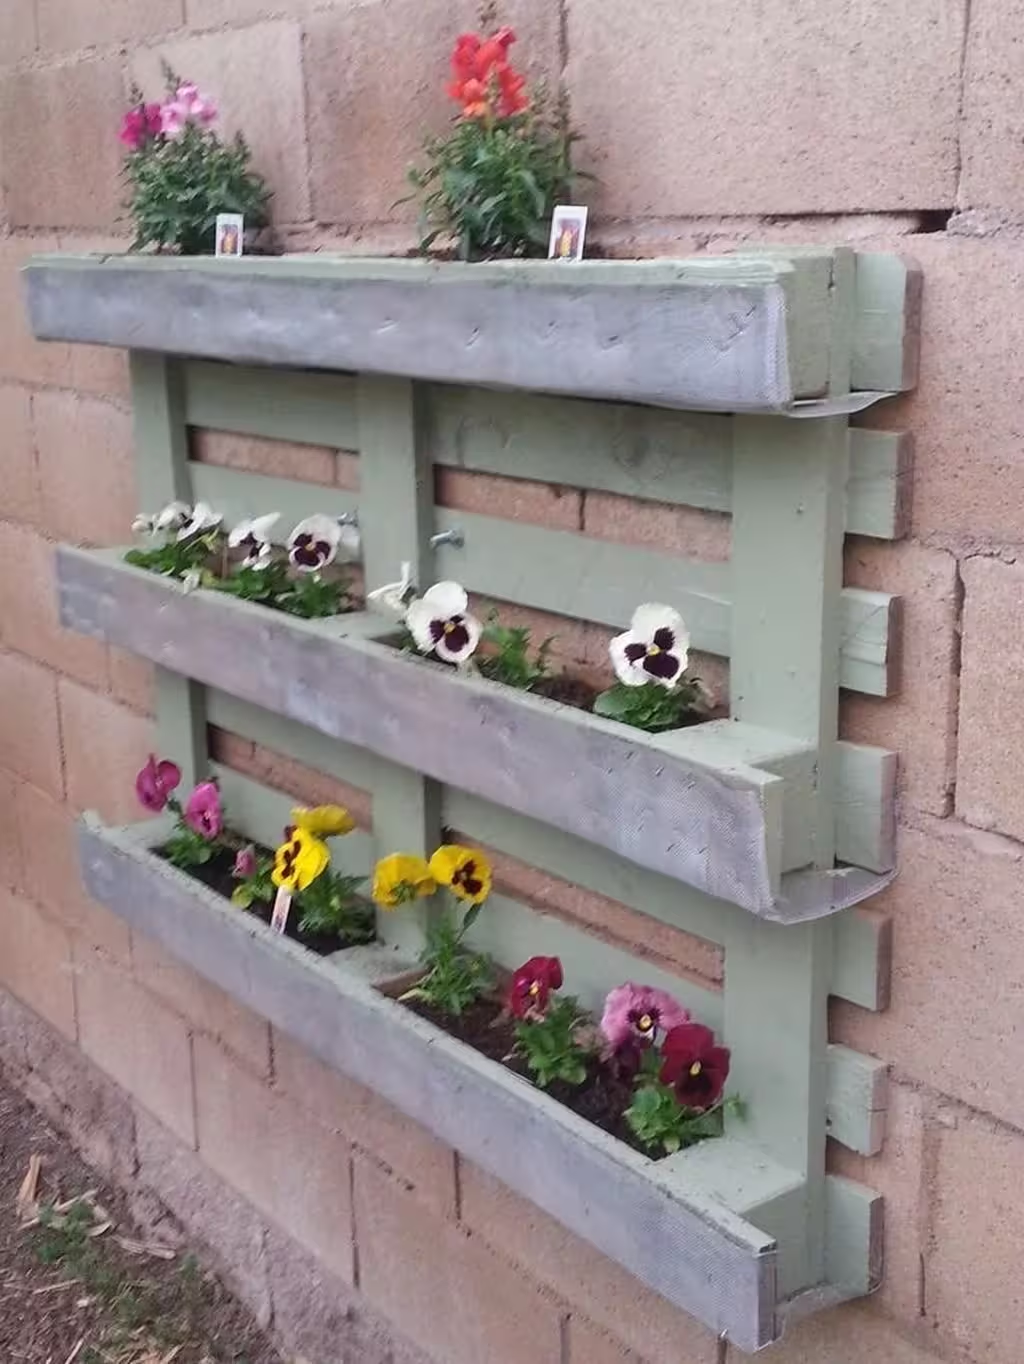
Paint or Seal the Pallet
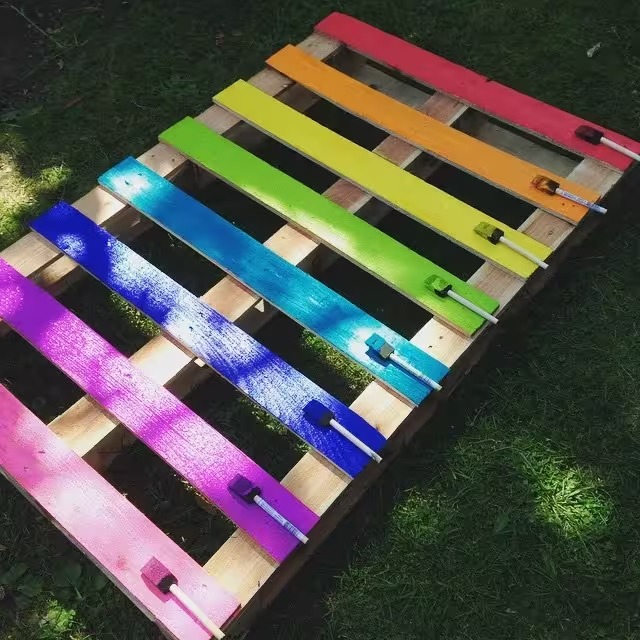
Give your pallet planter a quick coat of outdoor paint or wood stain in your favorite color. This makes it look prettier and protects the wood from rain and sun. Let it dry completely in the open air for at least one full day.
Create Planting Pockets
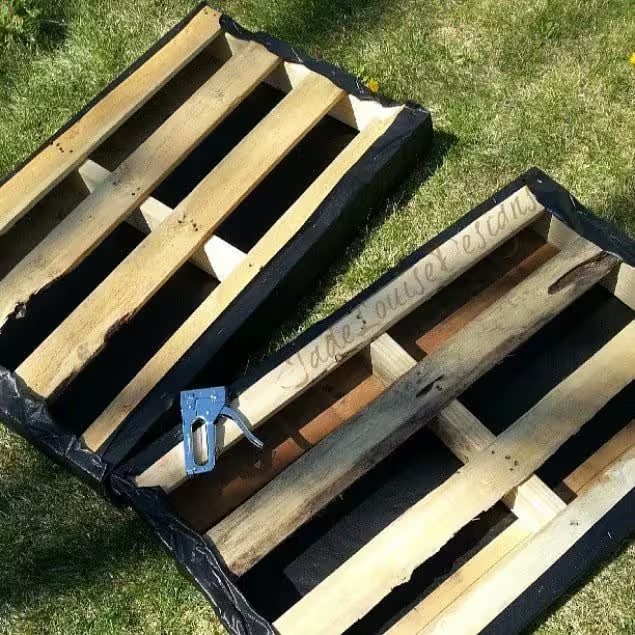
Turn the pallet so the back is facing you. Staple strong waterproof landscape fabric (or thick plastic) across the back, the bottom, and the inside of each horizontal row. This creates pockets that will hold the soil. Leave the top of each row open for filling. (If you prefer, you can also nail thin wooden sheets instead of fabric – both work well.)
Make It Strong (Extra Support)
For bigger pallets, add a full sheet of landscape fabric or a wooden board to the entire back. This stops soil from falling out when you stand the planter upright.
Fill with Soil and Plants
Place the pallet flat on the ground (front side up). Fill each row generously with good potting soil. Gently add your plants or herb seedlings – press the soil lightly around the roots. Water well so everything settles.
Let It Rest, Then Stand It Up
Leave the filled pallet lying flat for 1–2 weeks. This gives the roots time to grow and hold the soil in place. After that, carefully stand your vertical pallet planter upright and secure it to a wall or fence with screws or brackets.
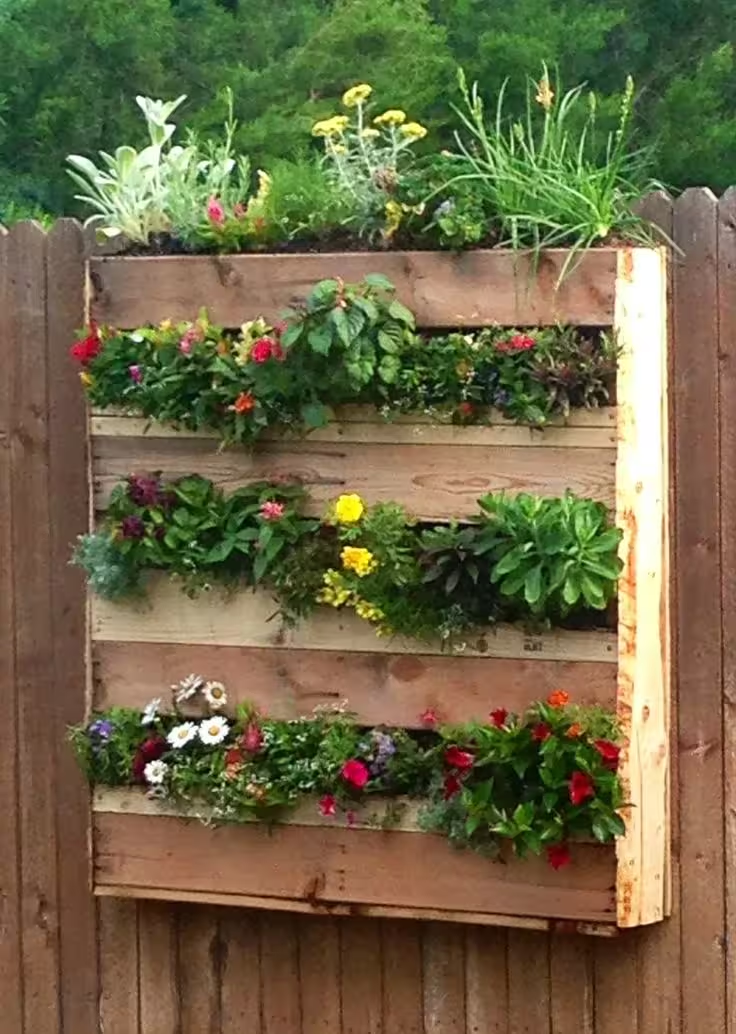
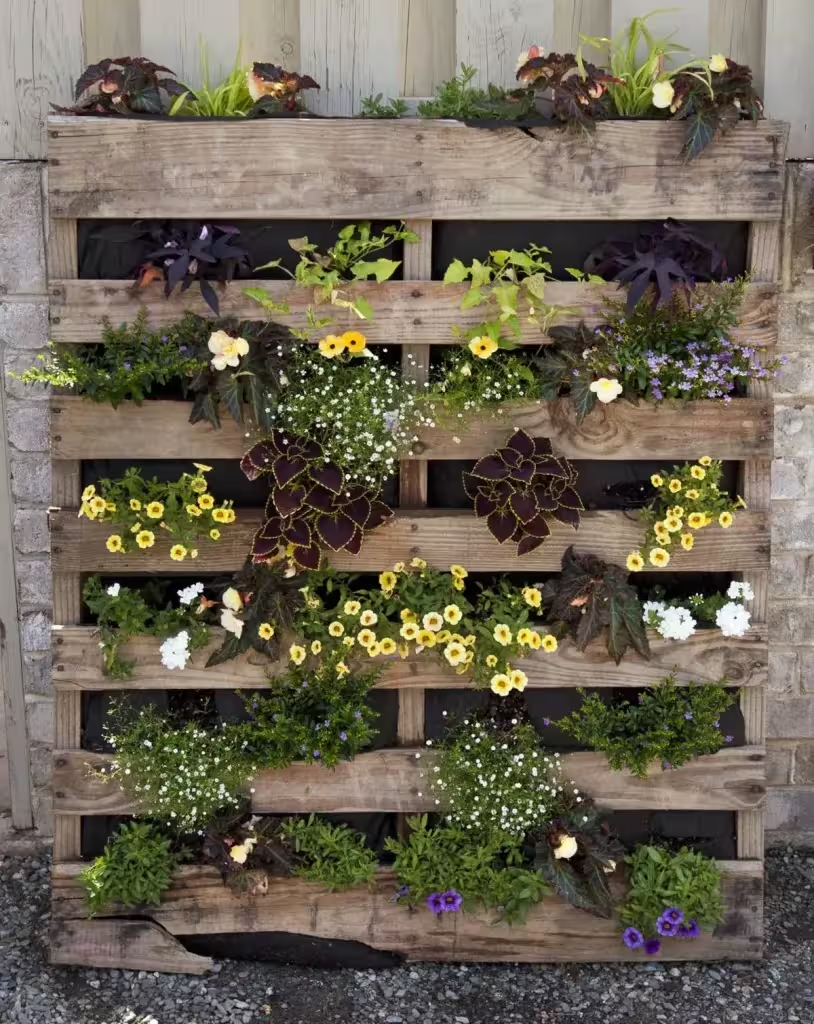
Enjoy Your New Vertical Garden!
Hang it in the sun (or bright indoor spot) and watch your flowers or herbs grow. You now have a gorgeous DIY vertical planter made from pallets that saves space and looks amazing!
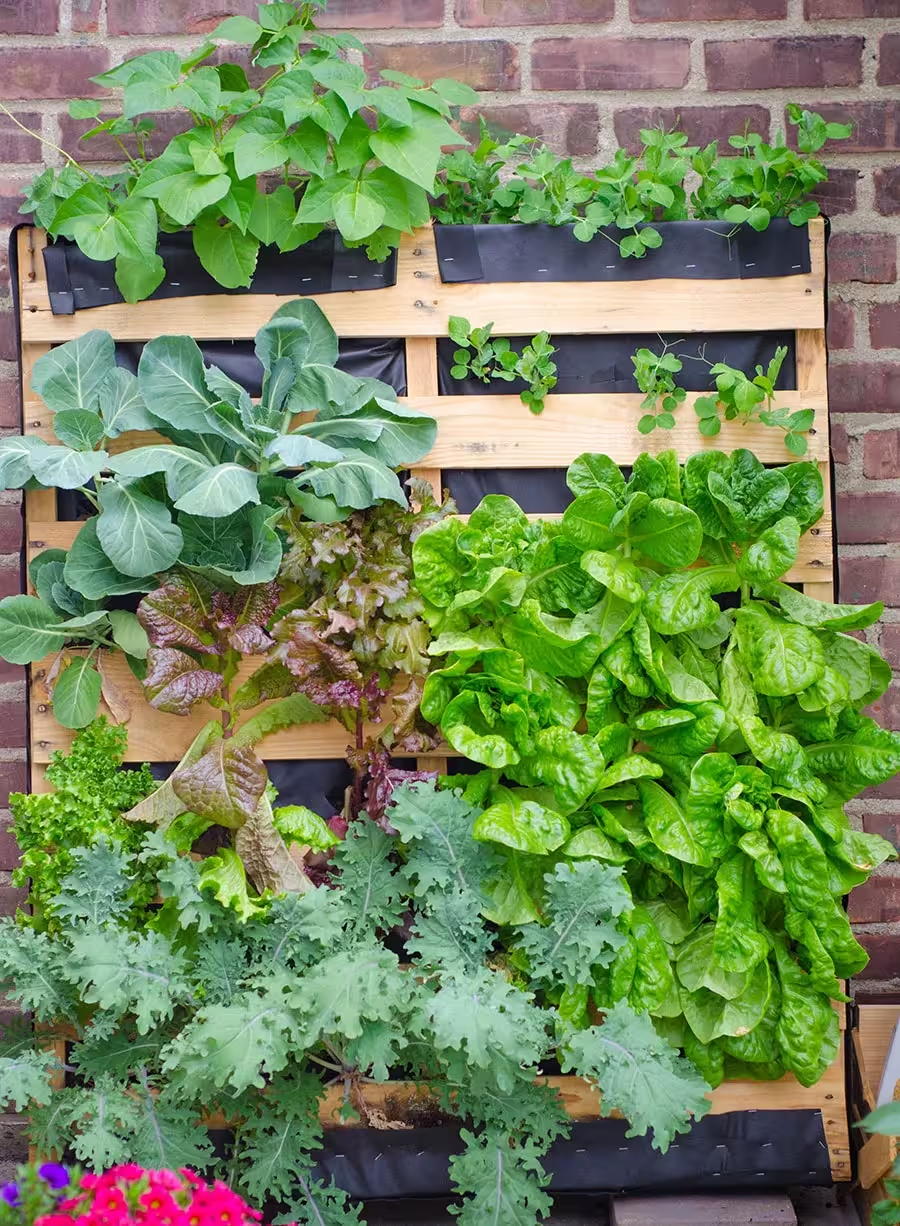
This simple pallet planter project is perfect for beginners and costs almost nothing. Use it outdoors for a colorful vertical garden or indoors for a fresh indoor pallet herb garden you can cook with every day. Happy planting!